
RAW files are often described as universal – the idea being that they represent a neutral, bare-bones capture of reflected light that should look the same no matter which software you use to open them.
That idea isn’t quite true.
In practice, the same RAW file can look remarkably different depending on the software interpreting it.
If you’ve ever opened a RAW image in Lightroom and then in Capture One, you may have noticed clear differences in color, contrast, and fine detail. This isn’t a bug or an error. It’s the natural outcome of how each program chooses to interpret the same underlying sensor data.
Understanding these differences matters. It can help you choose the right tool for your workflow and, more importantly, help you produce images that align more closely with your visual intent rather than fighting against a software’s defaults.
The Shared Starting Point
All four programs—Adobe Lightroom / Camera Raw, Capture One, DxO, and Luminar Neo—begin with the same linear sensor data. At this stage, each photosite records only a single color value, with the remaining color information still missing.
Before any processing occurs, a RAW file is simply a grid of numerical values representing light intensity. Turning that data into a visible image requires interpretation, and the moment interpretation begins, differences emerge.
Those differences start with demosaicing—the process by which missing color information is reconstructed—but they don’t end there. Each application applies its own assumptions about color, tone, contrast, noise, and detail as the image is rendered.
If you’re unfamiliar with demosaicing, I’ve covered the process in more detail here:
What Is Demosaicing and How Cameras Interpret Light Differently From the Human Eye?
In the sections that follow, I’ll explore how Adobe, Capture One, DxO, and Luminar Neo each approach RAW interpretation, and how those technical choices translate into distinct visual aesthetics.
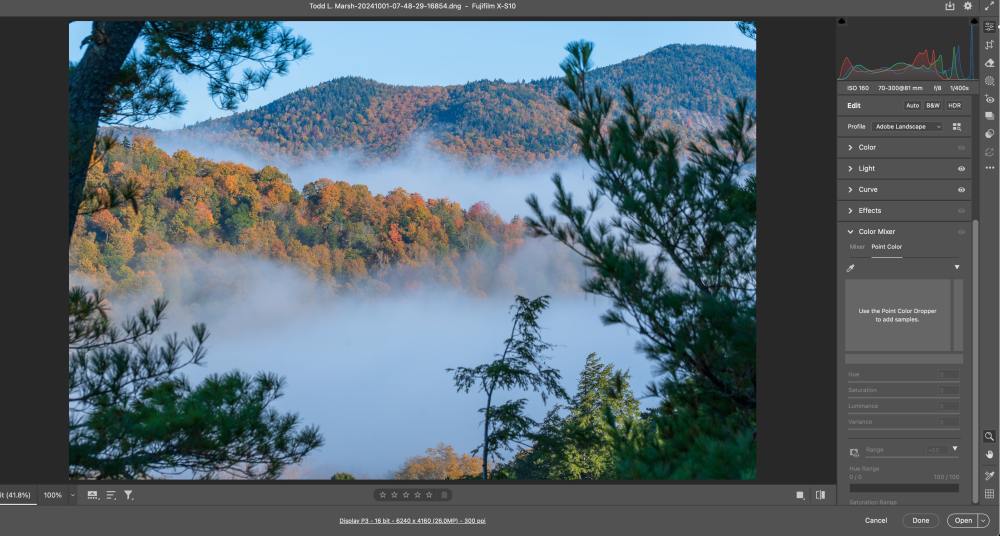
Adobe Lightroom & Camera Raw
Adobe prioritizes balance and neutrality. It prioritizes clean, artifact-free outputs.
Its demosaicing algorithm favors smooth gradients and controlled color transitions. This is particularly noticeable in skies, water, and smooth surfaces.
Adobe’s tone curves aim to produce a visually pleasing image that matches the way humans perceive brightness, without overemphasizing noise or detail. The result is a natural, flexible starting point for further editing.
Users often appreciate the consistency across a set of images, which is valuable for professional workflow and batch processing.
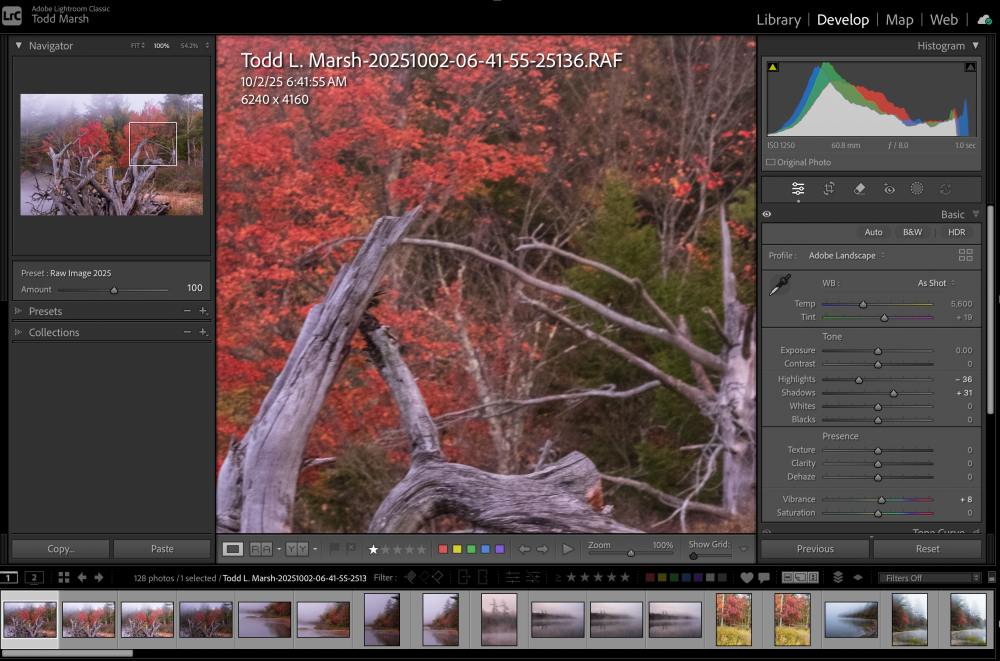
Capture One

Capture One takes a noticeably different approach to RAW interpretation. Its demosaicing places a strong emphasis on micro-contrast and edge definition, which can make textures appear sharper and more three-dimensional right from the start.
Compared to other platforms, Capture One’s rendering is more detail-forward. Fine textures—such as foliage, fabric, and skin—often appear more defined without requiring additional sharpening adjustments.
Color rendition is also more saturated by default, particularly in greens and skin tones. This is driven by Capture One’s proprietary color engine, which is designed to preserve local contrast and fine detail while keeping noise well controlled.
Because of this approach, Capture One is often favored by photographers who value technical precision and maximum detail extraction. Its default rendering tends to produce images that “pop” immediately, though some users may find the look less neutral or more opinionated than Adobe’s interpretation.
DxO PhotoLab
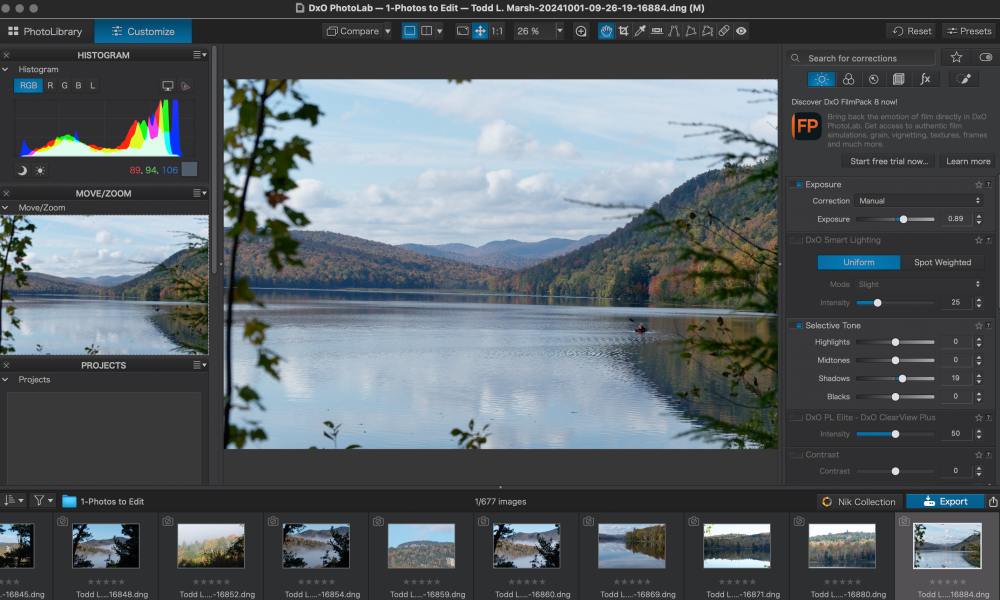
DxO PhotoLab takes a highly analytical approach to RAW processing. Its pipeline is built on detailed, empirical knowledge of specific camera sensors and lenses, derived from extensive in-house testing.
Because DxO profiles individual camera and lens combinations, its demosaicing and noise-reduction processes are tightly informed by real-world sensor behavior. This allows the software to apply optical corrections and noise reduction automatically, often at the very earliest stages of RAW rendering.
DxO’s interpretation emphasizes fidelity—aiming to reproduce what the sensor actually recorded while correcting for known lens imperfections and sensor noise characteristics. The result is often exceptional detail retention, particularly in low-light images, with very low visible noise.
That same technical precision can sometimes produce a more clinical or “engineered” look out of the box. Many photographers find that additional tonal or color adjustments are needed to introduce a more organic or expressive feel.
Notably, DxO is widely regarded as having one of the strongest demosaicing implementations for Fujifilm’s X-Trans sensors, where its sensor-specific profiling often yields cleaner detail and fewer artifacts than competing software.
Luminar Neo
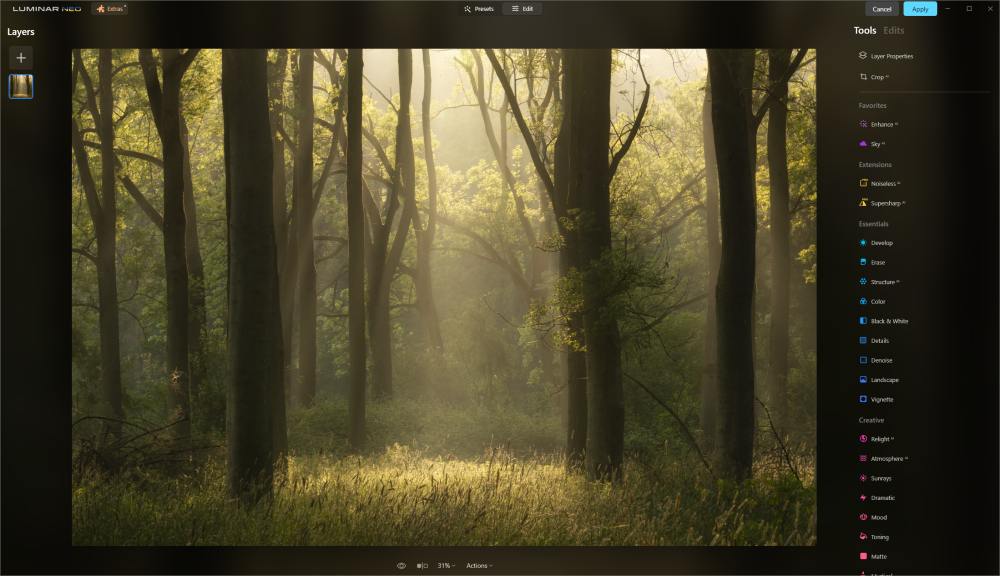
Luminar Neo adopts a more aesthetically driven approach to RAW interpretation. It combines conventional demosaicing with AI-based enhancements that influence color, contrast, and texture early in the rendering process.
Compared to more technically focused converters, Luminar Neo’s demosaiced files tend to favor blending and smoothing over micro-detail, particularly along high-contrast edges. This can result in a cleaner, more polished appearance, but with less emphasis on fine structural detail.
The software prioritizes visual appeal over strict fidelity to the sensor’s original measurements. For creative photographers seeking strong results with minimal manual adjustment, this approach can be appealing. At the same time, it makes Luminar Neo’s rendering more subjective and less predictable than traditional RAW processors.
Users should be aware that AI-driven enhancements may modify subtle color relationships or fine detail in ways that conventional RAW workflows typically avoid. This doesn’t make the results inferior—but it does place Luminar Neo firmly in the category of interpretive, rather than purely corrective, RAW processing.
Comparing the Software Side by Side
Although each program begins with the same RAW file, the decisions made during demosaicing, color interpretation, tone mapping, and noise handling lead to distinctly different results.
Adobe generally aims for a neutral, balanced interpretation. Capture One emphasizes texture and micro-contrast. DxO prioritizes technical accuracy and sensor-specific fidelity. Luminar Neo leans toward stylized, AI-driven aesthetics.
None of these approaches is inherently better or worse. Recognizing how they differ allows you to choose software that supports your workflow and aligns with your artistic goals rather than working against them.
Get an email when new articles are published
Practical Implications for Photographers
Understanding these differences reshapes expectations. There is no single, universally “correct” interpretation of a RAW file.
Your software choice influences how you perceive color, shadow, highlight detail, and texture from the moment the image is rendered on screen. When you work exclusively in one application, you may unknowingly adopt its biases—favoring certain colors, contrast relationships, or levels of detail simply because they are presented to you by default.
Some photographers address this by working across multiple programs. Others choose a single converter whose interpretation most closely matches their memory of the scene.
I fall into the latter camp, using DxO Raw, which is the same RAW converted in DxO PhotoLab and also Adobe Camera Raw as the foundation of my workflow. I’ll walk through that process in the sections that follow.
Final Thoughts on Processing
Adobe, Capture One, DxO, and Luminar Neo all begin with the same RAW sensor data, yet each interprets that data differently.
None of these programs produces a “perfect” RAW image. Every result is a rendered interpretation shaped by design decisions about demosaicing, color, tone, and detail. Understanding those design philosophies allows you to choose a processor that supports your artistic intent rather than imposing its own.
I strongly recommend testing the available trial versions—or short-term subscriptions—whenever possible. Viewing the same images across different platforms is one of the most effective ways to understand how each program sees the world.
I’ve worked with all of these tools over the past several years. While each application evolves, the core processing philosophies tend to remain relatively consistent. For that reason, the differences discussed here are likely to persist even as individual features and tools continue to change.
My Experiences with Adobe, DxO, Capture One, and Luminar Neo
I’ll start with the software I’ve used the least: Capture One.
Capture One
Overall, I liked the results I achieved with Capture One. The tools are comprehensive, and the software is clearly capable of producing high-quality images. That said, the learning curve is noticeably steeper than the other platforms. With time and patience, I’m sure I could become comfortable with it, but it requires a greater upfront investment.
Color and tonal rendering were strong, and there is no shortage of tools for refining an image. I also appreciate that you are always working directly with the RAW data. From a technical standpoint, Capture One is a powerful and capable editor.
Where it fell short for me was noise reduction, the speed of masking workflows, and cost. While masking in Capture One can be very precise, it generally requires more steps than comparable masking workflows in Adobe. Noise reduction was another limitation, particularly for the kind of photography I do—often in darker environments such as ravines, dense forests, and during early or late hours of the day.
I felt I needed to rely on additional software for denoising, which adds cost to an already expensive platform. I tend to upgrade regularly because I prefer having new features as they become available rather than waiting for major version releases. Given that innovation within Capture One’s ecosystem feels slower, that further reduced its appeal for me.
I could work with Capture One, and many photographers do so successfully—but it isn’t the best fit for how I like to work.
Luminar Neo
When I first encountered Luminar Neo, I thought it might be the answer to everything.
In practice, though, I found most of my results looked artificial. That may be partly due to the abundance of AI-driven tools and one-click effects, but the overall aesthetic never felt quite right to me.
Noise control was acceptable, but color rendition consistently felt off—though I’ll acknowledge that some of that could come down to user technique. More importantly, I often felt like Luminar Neo was creating the image rather than responding to my decisions. I didn’t feel fully in control of the final result, and that was a dealbreaker for me.
That said, Luminar Neo does some things very well. Its focus stacking and panorama tools worked reliably and efficiently, and I had no complaints there.
If you enjoy dramatic effects, sky replacements, glows, and quick transformations, Luminar Neo may be an excellent choice. For me, the lack of fine-grained control made it unsuitable for long-term growth in my photography.
DxO Photolab
I recently downloaded the 30-day trial of DxO PhotoLab 9. I already use DxO PureRAW 4 (I chose not to upgrade to version 5) and Nik Collection 8, so I was curious to see how PhotoLab would fit into my workflow.
PhotoLab 9 uses the same noise reduction and optical correction technology found in PureRAW 5, and the quality of the starting image is immediately impressive—better, in my experience, than what I get when opening files directly in Lightroom. From the outset, the files felt clean, sharp, and well-corrected.
That said, PhotoLab ultimately left me wanting more. While the basic editing tools got me about 95% of the way there, I missed some of the finer controls and efficiency I rely on in Adobe.
Masking in PhotoLab can be very detailed, but it’s slower than my Adobe workflow. The biggest frustration for me was luminosity masking. To access it, I would need to purchase DxO’s Analog Efex module. I see luminosity masking as a foundational editing tool—not something that should require a separate add-on designed primarily for stylistic effects.
While DxO products are sold as one-time purchases, they are not inexpensive. Once upgrades and add-ons are factored in, the overall cost ends up being comparable to subscription-based models.
I could use PhotoLab effectively, but for my workflow, it isn’t as flexible or efficient as Lightroom, Camera Raw, and Photoshop.
Adobe and My Workflow
If your goal is to edit RAW photographs comprehensively, the Adobe Photography Plan includes everything you need.
File organization, noise reduction, image correction and calibration, focus stacking, panorama stitching—it can do nearly everything, and often at a best-in-class level. Despite frequent claims online about Adobe’s decline, I don’t find those arguments convincing.
Yes, some photographers dislike the subscription model or the growing presence of AI tools. But as someone who has been buying software since the days of 3.5-inch floppy disks, I see the overall cost as roughly equivalent to purchasing perpetual licenses and upgrading every few years.
That debate is worth having—but it’s not really about RAW processing.
Adobe remains the reference point that other software compares itself against. And while I don’t use every Adobe feature, the flexibility of the ecosystem is unmatched.
This Article is Part of a Series on RAW Files


My Preferred Workflow
About 95% of the time, I use the workflow outlined below. The remaining 5% of the time, I work entirely within Lightroom and Photoshop.
I prefer the way DxO converts RAW data. Using its extensive camera and lens testing database, DxO corrects optically softer areas of an image based on known sensor and lens behavior, producing a sharper, more optimized DNG file for further editing.
My workflow begins by exporting an image from my Lightroom catalog to DxO PureRAW 4. PureRAW applies noise reduction and optical corrections based on the specific camera and lens combination. In some cases, I selectively control where denoising is applied, but most of the time I let the software run automatically.
The result is a DNG file. DNGs are still considered demosaiced RAW files, retaining substantial editing latitude.
From there, I open the file in Adobe Camera Raw, where I focus on tonal corrections, color separation, and selective local adjustments. I use what I call the Base Tone Method, which I’ll describe in detail in a separate article.
Next, I open the image as a Smart Object in Photoshop and complete the edit using non-destructive layers—primarily through custom actions I’ve built to speed up the process.
Toward the end, I may flatten the image and apply a few destructive edits. I leave these until last so I can easily revisit earlier decisions if needed.
I find this workflow fast, repeatable, and flexible. Using multiple programs doesn’t slow me down or complicate things in any meaningful way. It’s simply a matter of choosing the right tools for each stage of the process.
People often make a bigger deal out of multi-software workflows than necessary. For me, it just works.
If you have an image editing software you’d like to know more about, leave a comment, and I’ll see if I can get my hands on the software. I know there are some free ones like Affinity 3 and Darktable, but I have not used either yet to edit images.

