

Adobe Lightroom (Lightroom) is probably the most popular photo editing and photo-file-organizing software on the market.
I use it 100% of the time for organizing my image files and almost always start my photo editing process with functions in Lightroom, which I will discuss in future articles and videos.
I have a video below that shows how to choose Adobe Lightroom Profiles. There are more options than the few you see in the profile dropdown box.
What I Want to Bring to Your Attention – Profiles Are Not Presets
On YouTube, I have watched videos where photographers show an image and call it a RAW file.
I’m not sure they know they have modified the image data in Lightroom by adding a profile to the RAW data. More on this in a minute as first I want to share what I think RAW files are.
What is a RAW File?
A RAW file is what the name suggests raw and unprocessed data as captured on your camera sensor.
However, your camera settings such as white balance, picture style, filters, or other settings that you might have applied are appended to the image file.
I will argue that this is still RAW data. You may have applied the changes as you see fit and although the data collected by the settings is appended to the actual RAW data that is the way it came out of the camera.
Ideally, you would or should mention that you added a preselected filter to the image. For example, here is the RAW image file with a Velvia filter applied. Or that you used an ND or UV filter when snapping the image.
For the sake of argument, the information collected on the SD card is the RAW data. But what you see in Lightroom (or other editing software) might be pre-edited by the software.
Did You Know Editing Software Automatically Adds Data to Your Images?
That’s right, your image is already shaped and modified by the software & camera engineers.
Each camera model has a predefined curve added either by the camera manufacturer or applied to the presented image by the software.
Long story short, the editing software adds a profile to the data of each camera model to make the RAW data look less dark and adds more contrast by lifting the mid-tones.
This is a topic for another article, but if you want more information you can find it in one of Tony Kuyper’s articles. I will also discuss these Linear Profiles in more detail in another article.
Lightroom Profiles Are Not Presets
Lightroom profiles are different than the presets you can make or buy.
Lightroom Profiles are created by developing 3D Look Up Tables (LUTs). These data tables modify the RAW camera sensor data by adjusting the RGB curves, luminosity gradient maps, color balance, and many other adjustments.
These changes are beyond the capabilities of the Lightroom sliders.
In effect, Lightroom profiles are pre-versions of Lightroom presets. By using them they give you the creative liberty to make adjustments to the data that can not be made with Lightroom itself.
Adobe Lightroom provides you with a few profiles that you can add to your raw files before you begin editing your photo image.
Other imaging software might also have their profiles. I am not sure about this as I always start in Lightroom. If I find out for sure I will post it here.
As you can see below, which profile you use will make a difference in how your RAW image is presented.
So in essence, it isn’t a RAW file. I will explain what is shown after the slide-bar image below.
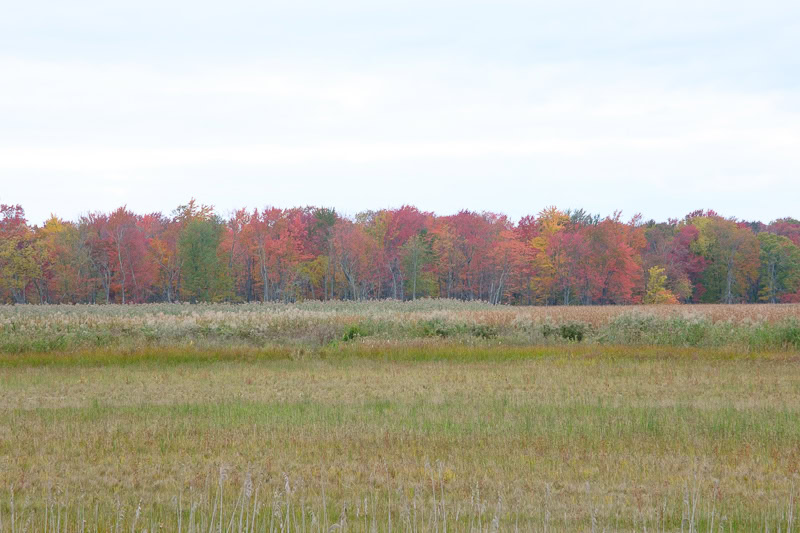
Linear Profile vs Adobe Standard Profile
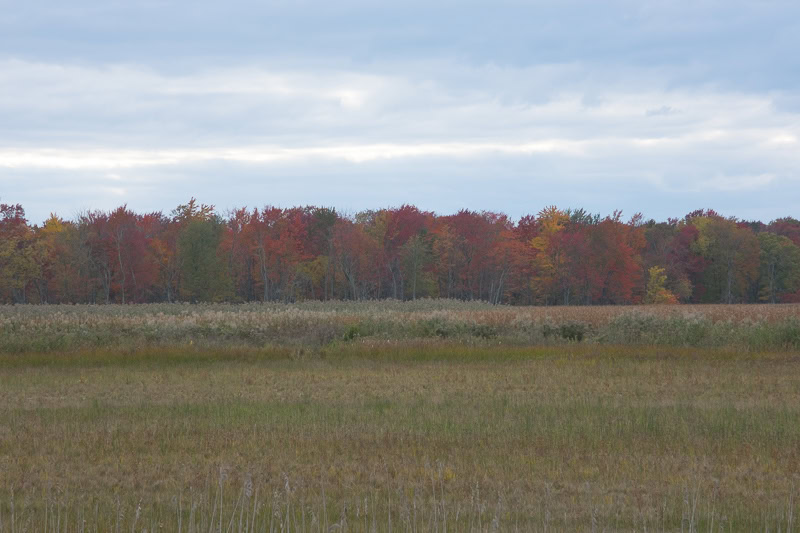
The image on the left is a RAW file from my Fujifilm X S10 set at a white balance of 5,500 kelvin and the standard film simulation with a linear profile adjustment so the data shown is what the camera recorded.
The image on the right of the slider is the same raw file with Adobe Standard Profile added. You can see the Adobe Standard is brighter and there is more contrast in the darker tones. But the not so in the sky.
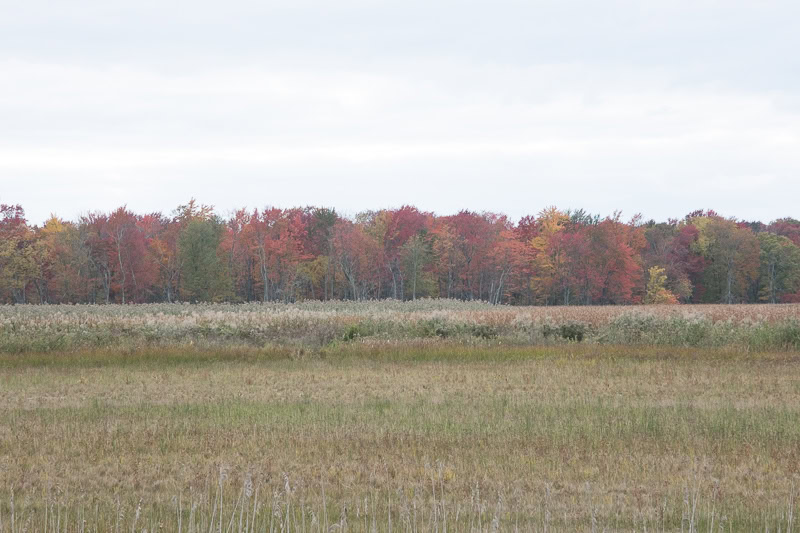
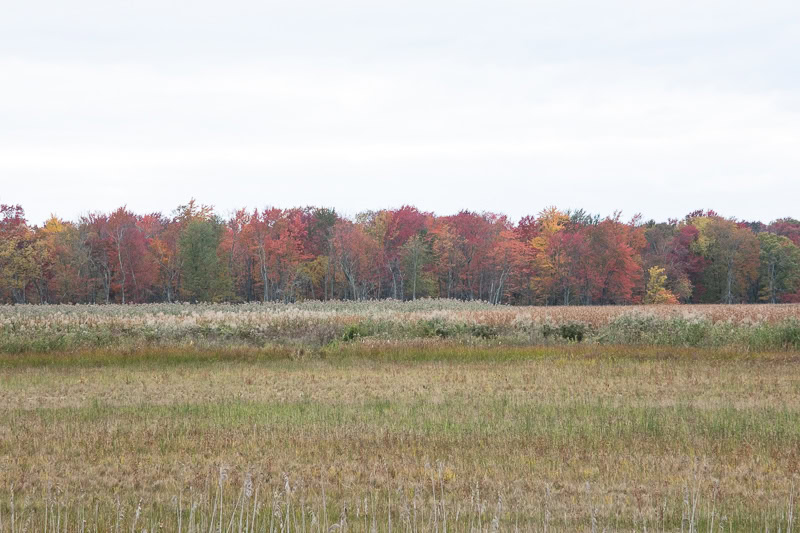
Here are the different Adobe profiles for the same image against the Linear profile I added to Lightroom from Tony Kuyper’s downloads.
Linear Profile vs Adobe Color Profile
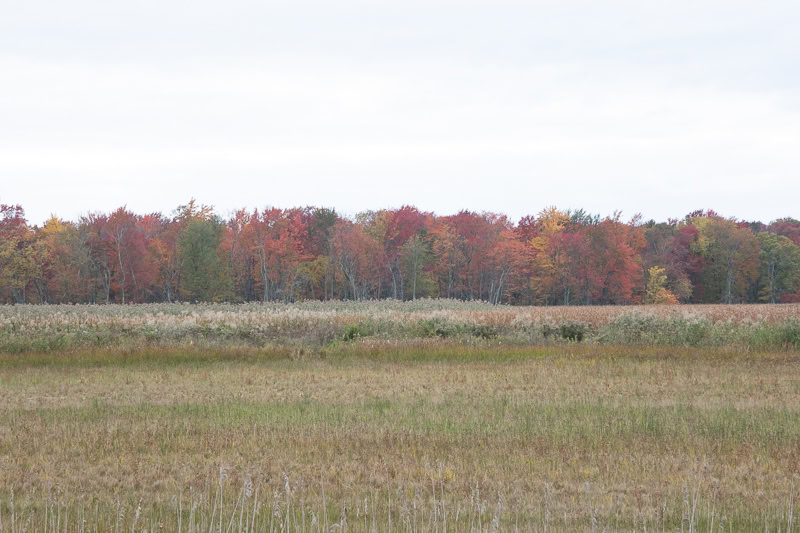
Linear Profile vs Adobe Landscape Profile

Linear Profile vs Adobe Vivid Profile
Linear Profile vs Adobe Velvia Vivid Profile
Lightroom has other profiles too! Some are camera specific like this one from Fujifilm. Click the browse button (I’ll include a video) to see other profiles in the Lightroom repository.
Adobe Lightroom Profiles Give You A Starting Point
These profiles show you a starting point on where to take the image. You can choose the profile that most represents what you saw and provides a foundation for the rest of your edit.
The Point I Want to Get Across
I’ll be specific here. The processing videos I’m talking about are from Adam Gibbs. While I was watching his processing videos he said he doesn’t modify the RAW file very much. Because I watch the videos on my TV, I couldn’t see where he was starting his edits. I got up off the couch and looked closer and he was using the Adobe Lightroom Landscape Profile.
As you can see in the photos above, the Landscape Profile is the most colorful and contrasty (is that a word?). While I use the Linear profile for my camera.
So of course, I will need to make more adjustments than Adam does for his images.
So that begs the question, why do I use the Linear Profile?
Why Would You Want to Use a Linear Profile?
First, I’m still trying to figure out my editing workflow. I’m still experimenting.
But here are my thoughts based on some research I have done. Although, there is a view that the reasoning below is bullshit.
First off let me tell you who has influenced my thoughts. These people besides Tony Kuyper are Nick Page, Sean Bagshaw, and Dave Kelly.
Although I start my edits in Lightroom, most of my edits are in Photoshop using luminosity masks and the shortcuts in the TK9 Photoshop plugin. The reason is a statement that Nick Page made. He said if you are going to take the time to learn software, learn the software that can do everything.
For me that is Photoshop. However, Lightroom is becoming more encompassing. The masks are getting better, but still, it is easier to choose tones, colors, textures, and luminosity in Photoshop than in Lightroom.
Also, I’m trying to convince myself that adjusting images with radial gradients is as good as picking out the portions of pixels of a particular luminosity value. Are gross area edits with gradients that make adjustments to all pixels in the area as “natural” as editing a portion of a pixel that contains an element?
I know, I’m overthinking it. I’m working on myself still.
Anyway to get back to the reason for using a linear profile.
The group of people I mentioned say that a flatter image the Linear profile provides makes the adjustment sliders more responsive.
You get to choose where the image goes and you are not fighting a pre-existing edit. For example, if you want to adjust the greens more toward yellow a Linear Profile is more neutral to start with and you may not have to fight the software’s algorithm that has those pixels trending toward the greens.
You are more in control of the whole edit instead of toward a vision that the software has led you.
However, There Are Opposing Views
Blake Rudis has made some videos about Linear Profiles and finds that there isn’t much difference where you start and you might as well get a head start by using one of the Adobe Lightroom Profiles. He doesn’t hate Linear Profiles, but he doesn’t see that they help much.
Where to Get Linear Profiles
If you want to try editing with a Linear Profile for your camera, you can get the profiles free from Tony Kuyper’s website. He has a long list of camera-specific profiles and provides instructions on how to install them on Adobe Lightroom.
How to Choose an Adobe Lightroom Profile (Video)
Here is where you can choose a Lightroom Profile, there is no need to make up your mind as you can pick through them, and it will change the image as you hover over the list.
You can also create an import preset that will automatically add a profile to the image. No worries if you have preselected a camera-specific profile and the image wasn’t shot from that camera. Lightroom will use the Adobe Standard Profile in that case.
What Are Your Thoughts on Adobe Lightroom Profiles?
What profile do you use with your images? Let me know below.