

Lightroom and Camera Raw Profiles Mentioned are the Adaptive, Adobe Color, Adobe Standard, Landscape, and Linear Profiles – What Are They & How Do They Differ?
When you open a RAW image in Lightroom or Adobe Camera Raw (ACR), the first thing applied to it, before sliders, masks, or adjustments, is a profile. Profiles set the baseline interpretation of your RAW data, defining color rendering, tone curves, contrast, and even texture.
Adobe provides several default profiles, like Adobe Color, Adobe Standard, Landscape, and as well as newer AI-powered options like Adaptive Color.
There are others, including camera brand-specific profiles and another that maybe you have heard about but is gaining in popularity, especially with users of Tony Kuyper’s TK Photoshop plugin, called a linear profile.
Each profile has a specific impact on how your image looks and feels.
In this post, we’ll compare:
- What these profiles are and how they work
- How do they visually affect your image
- Which types of photography is each profile best suited for
- Whether they’re destructive or non-destructive
- How profiles differ from other edits in your workflow
What Are Profiles in Lightroom and ACR?
A profile in Lightroom/ACR is not an adjustment—it’s a rendering engine. It determines how your RAW image data is translated into visible pixels by applying an initial tone curve, color matrix, and contrast mapping.
- Profiles set a visual baseline that all other edits build upon.
- You’ll find profiles in the Profile Browser at the top of the Basic panel in both Lightroom and ACR.
All profiles are non-destructive. They change how the RAW data is interpreted, but they do not alter the file itself.
Profile Comparison Table
| Profile Name | Tone Curve | Color Contrast | Saturation | Target Use Case | Slider Neutral? | Adaptive? |
| Adobe Color | Moderate | Balanced | Medium | General-purpose | Yes | No |
| Adobe Standard | Flat | Low | Natural | Natural tones, base edits | Yes | No |
| Adobe Landscape | Punchy | Strong | High | Landscapes, skies | Yes | No |
| Linear Profile | Flat (0 curve) | None | None | Precise color grading | Yes | No |
| Adaptive Color | Dynamic | Scene-aware | Variable | Scene-dependent (sky, portrait, etc.) | Yes | ✅ Yes |
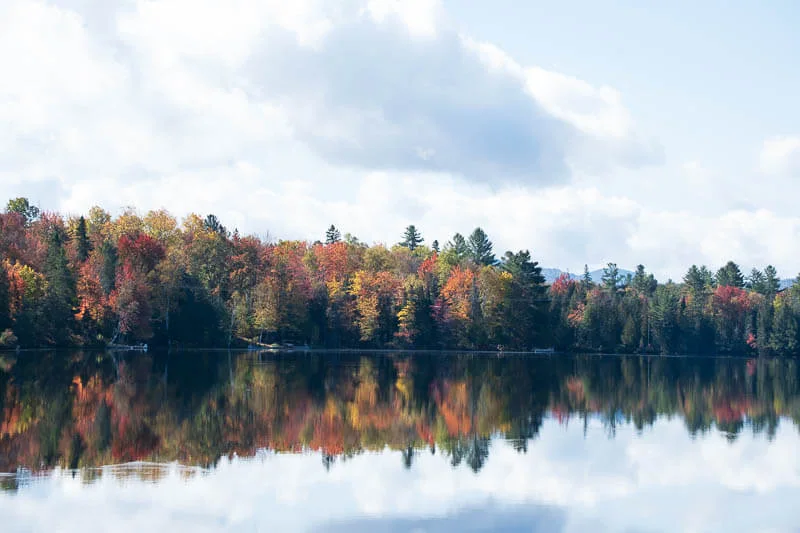
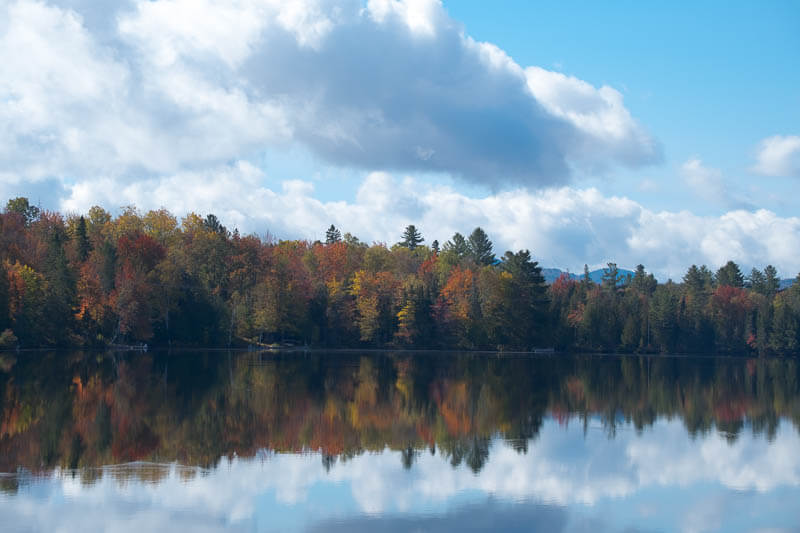
I’ve included an image of an Adirondack Lake RAW file (converted to a Jpeg) with each of the profiles added, with no other adjustments to the image, so you can see some of the differences between the profiles before edits.
Let’s Discuss the Included Adobe Profiles – Excluding the Newest
Adobe Color Profile

What it does:
- The default profile for most Adobe RAW workflows.
- Adds moderate contrast, warm color bias, and boosted midtone saturation.
- Designed to make your image look “finished” out of the gate—ideal for general editing.
Best for:
- Portraits
- Travel
- Documentary
- Events
Visual effect:
- Richer skin tones
- Slight boost in color contrast
- Vibrant midtones with soft roll-off in shadows and highlights
Where does it affect the image?
- Midtones and skin tones show the most noticeable warmth and contrast.
Mild adjustments across the image—no extreme shifts. This is one of the better profiles to add to an import preset, so the images have a middle-of-the-road adjustment to make it easier for you to choose what images you want to edit, keep, or delete.
Adobe Landscape Profile
What it does:
- Designed for nature and landscape photography.
- Adds vibrant color contrast, especially in blues and greens.
- Boosts microcontrast and clarity-like structure in RAW rendering.
Best for:
- Landscape and nature
- Outdoor scenes with skies, foliage, and water
- High-dynamic-range environments
Visual effect:
- Strong blues and greens
- Higher edge contrast
- Boosted saturation in shadows and highlights
Where does it affect the image?
- Color channels (especially greens and blues)
This profile provides a global tonal contrast and brings out more details than Adobe Color.
Adobe Standard Profile

What it does:
- An older Adobe profile that aims for neutral color and tone.
- Lacks aggressive contrast or saturation boosts.
- Great for photographers who want full manual control over their edits.
Best for:
- Portraits and skin tones
- Studio work
- Consistent baseline for custom profiles
Visual effect:
- Flatter tones
- Muted colors
- More editing headroom, especially in highlights
Where does it affect the image?
- Global flattening of tonal curves
Minimal color bias and closer to the RAW file output. Photographers who want to develop their own tones, contrast, and color edits use this profile because of the more neutral and flatter appearance of the image.
Linear Profiles – Not an Included Adobe Profile – Needs to be Imported into Lightroom
Tony Kuyper’s Linear Profiles for Lightroom and Adobe Camera Raw (ACR) are custom camera profiles designed to give photographers a highly flexible, flat starting point for raw photo editing.
These profiles are especially popular among landscape and nature photographers who want more precise control over tonal adjustments, color grading, and shadow/highlight recovery.
You can learn more about Linear Profiles by reading this article.
What it does:
- Removes the default tone curve entirely.
- Delivers a truly flat, low-contrast image.
- Maximizes tonal range and editing flexibility.
Best for:
- Fine art or technical editing
- Exposure blending
- Custom LUT grading or HDR workflows
Visual effect:
- The image looks very flat and dull at first
- Zero contrast or color adjustment applied
- Shadow and highlight details preserved
Where does it affect the image?
- The tone curve is neutral (no adjustment)
- Designed for manual control via Curves or exposure blending
You can download a linear profile for your camera from Tony Kuyper’s website.
The Newest Profile – Adaptive Color Profiles (AI-Powered)

What is an Adaptive Profile
Below I touch on what Adaptive Profiles are, but I have an in depth article on Adaptive Profiles that explains everything about them. Click here to see that article.
What they do:
- Introduced with newer Lightroom/ACR versions.
- Use AI to detect scene elements (sky, subject, background) and apply dynamic adjustments.
- Available in options like “Portrait,” “Sky,” or “Vivid” that adapt to image content.
Best for:
- One-click enhancement of common scenes
- Workflow acceleration for portraits, skies, or travel shots
Visual effect:
- Scene-aware rendering:
- Sky Adaptive enhances blues and contrast selectively in skies.
- Portrait Adaptive softens skin tones and smooths contrast.
- Sky Adaptive enhances blues and contrast selectively in skies.
- Color and contrast changes vary per image.
Where does it affect the image?
- Selective regions (sky, face, foreground) via adaptive tone mapping
- Global rendering based on AI scene recognition
Which Profile Should You Use?
An important note that isn’t discussed much is that when an adaptive profile is applied to an image, you can control how much or how little of those adjustments are added to the image. There is a slider that you can move right or left to adjust the effect as a whole, either less or more extreme.
This functional slider is not available with the other profile.
It is hard to recommend a starting profile. After all, it comes down to personal style. But I can give some suggestions. In the end, I will tell you what profiles I use.
| Photo Type | Recommended Profile |
| General Purpose | Adobe Color |
| Natural/Flat Base | Adobe Standard or Linear |
| Macro / High Detail | Linear or Adobe Standard |
| Landscapes / Skies | Adobe Landscape or Adaptive Sky |
| Portraits | Adaptive Portrait or Adobe Color |
| Exposure Blending | Linear (preserves detail) |
How Do Profiles Affect Editing?
Important: Profiles define the starting point of your RAW workflow.
Unlike sliders that you manipulate manually:
- Profiles bake in a look, but don’t touch the sliders. Meaning the future adjustments you make start from where the profile adjustment ends. They are always in the image.
- They determine how color values are interpreted before any exposure, contrast, or curve adjustments are made.
Profiles are:
- Non-destructive: You can change them anytime without data loss.
- Foundational: They affect color grading and tonal mapping subtly or strongly, depending on the type.
Adaptive Profiles are Invisible to sliders: You won’t see any slider change when applying them, but the image changes visibly. This gives you more room to move the sliders to best fit your taste.
Tips for Using Profiles Effectively
- Start with the right profile: Choosing the right baseline reduces the amount of editing required later.
- Combine Linear with TK9 or Lumenzia workflows: Linear profiles offer clean base rendering ideal for luminosity masking in Photoshop.
- Try Adaptive profiles when time is limited: One-click enhancements can often yield impressive results with minimal work.
- Use Adobe Standard when consistency matters: If you’re editing a series of portraits or a studio session, a neutral base is more predictable.
Final Thoughts
In Lightroom and Adobe Camera Raw, profiles are the foundation of your edit, and they do more than just tweak colors—they define how your RAW data is interpreted visually.
- Adobe Color is a well-balanced default.
- Adobe Landscape gives you punchy, vibrant images perfect for nature scenes.
- Adobe Standard and Linear offer neutral bases for those who want full manual control.
- Adaptive Color Profiles bring in AI smarts for fast, scene-specific enhancement.
Ultimately, the best profile depends on your editing style and subject matter. Choosing the right one upfront can save time and produce more consistent, intentional results.
Let me know if you’d like a downloadable PDF cheat sheet comparing these profiles or a Lightroom preset pack built around them.
Photo Grid Showing Examples of the Profiles
Click image to see a larger version.
Which of the profiles do you like better? The Linear profile did exceptionally well with this image, usually, it is much flatter and with less contrast. I guess not a great example for this article. But it shows that you should download your camera’s linear profile and try it on your RAW images.
I like the Linear or Adaptive profiles as a starting point for this image. Remember, the results are image specific, so try them all or a few you have found that you like.
What Profiles Do I Use in My Editing Workflow?
The profiles I use vary depending on how the image is exposed and what edits I plan on making to the image or images.
I always import my images into the Lightroom Catalog with the Adobe Landscape profile added. I find I can make a quicker decision if I want to keep the photo or not when it has the most contrast and color.
The best thing about profiles is that you can change them to find the best starting point before you start moving sliders.
Here is my current profile workflow.
I import images into Lightroom using the Adobe Landscape profile via a RAW File Import preset.
When I start to edit a photo, I toggle through the profiles I use most frequently.
First, I try the Adaptive Profile – sometimes it works, other times it doesn’t. But I like how it adjusts the sky and foreground separately. However, sometimes it looks like old-school HDR.
Next, I try a preset I bought from Blake Rudis, it is called Candy Rich Color. It is one of my favorites. It doesn’t work too well when yellows and oranges are already quite saturated or cover the majority of the image.
If I’m going to exposure blend with a luminosity mask, I start with my camera’s Linear Profile. I find it easier to adjust the masks to a mostly white sky or black foreground with a flat image.
The profiles I use 99.9% of the time on single images are the Adaptive, Landscape, or Candy Rich Color. I know I didn’t discuss the latter, but I will see if I can make a similar profile available, as I can’t provide you with copies of Blake’s profile.
Leave a comment below if you have any questions!